MiniMax H4 AI background remover for a subject on transparent PNG
Separate a photographed subject from its surroundings without writing a scene prompt. The MiniMax H4 AI background remover uses Bria RMBG 2.0: upload one JPEG, PNG, or WebP up to 30 MB and receive one transparent PNG at the input dimensions. Use the MiniMax H4 AI background remover for a reusable cutout, then inspect its edges before placing it on a new surface or background.
Image workspace
Sample Image
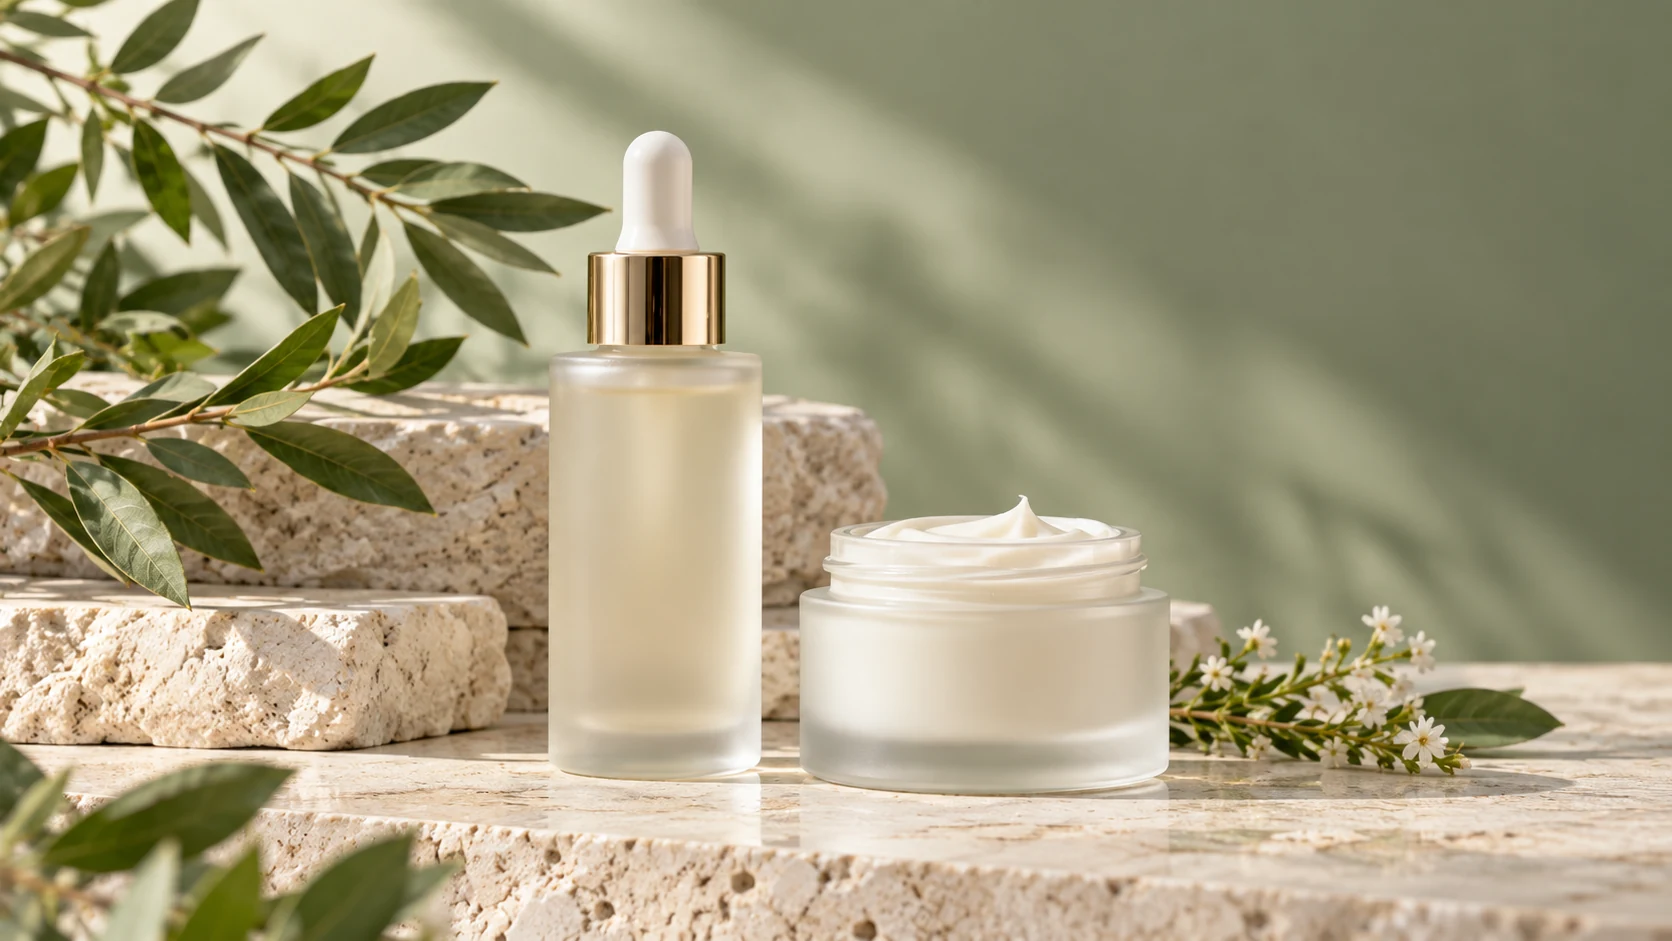
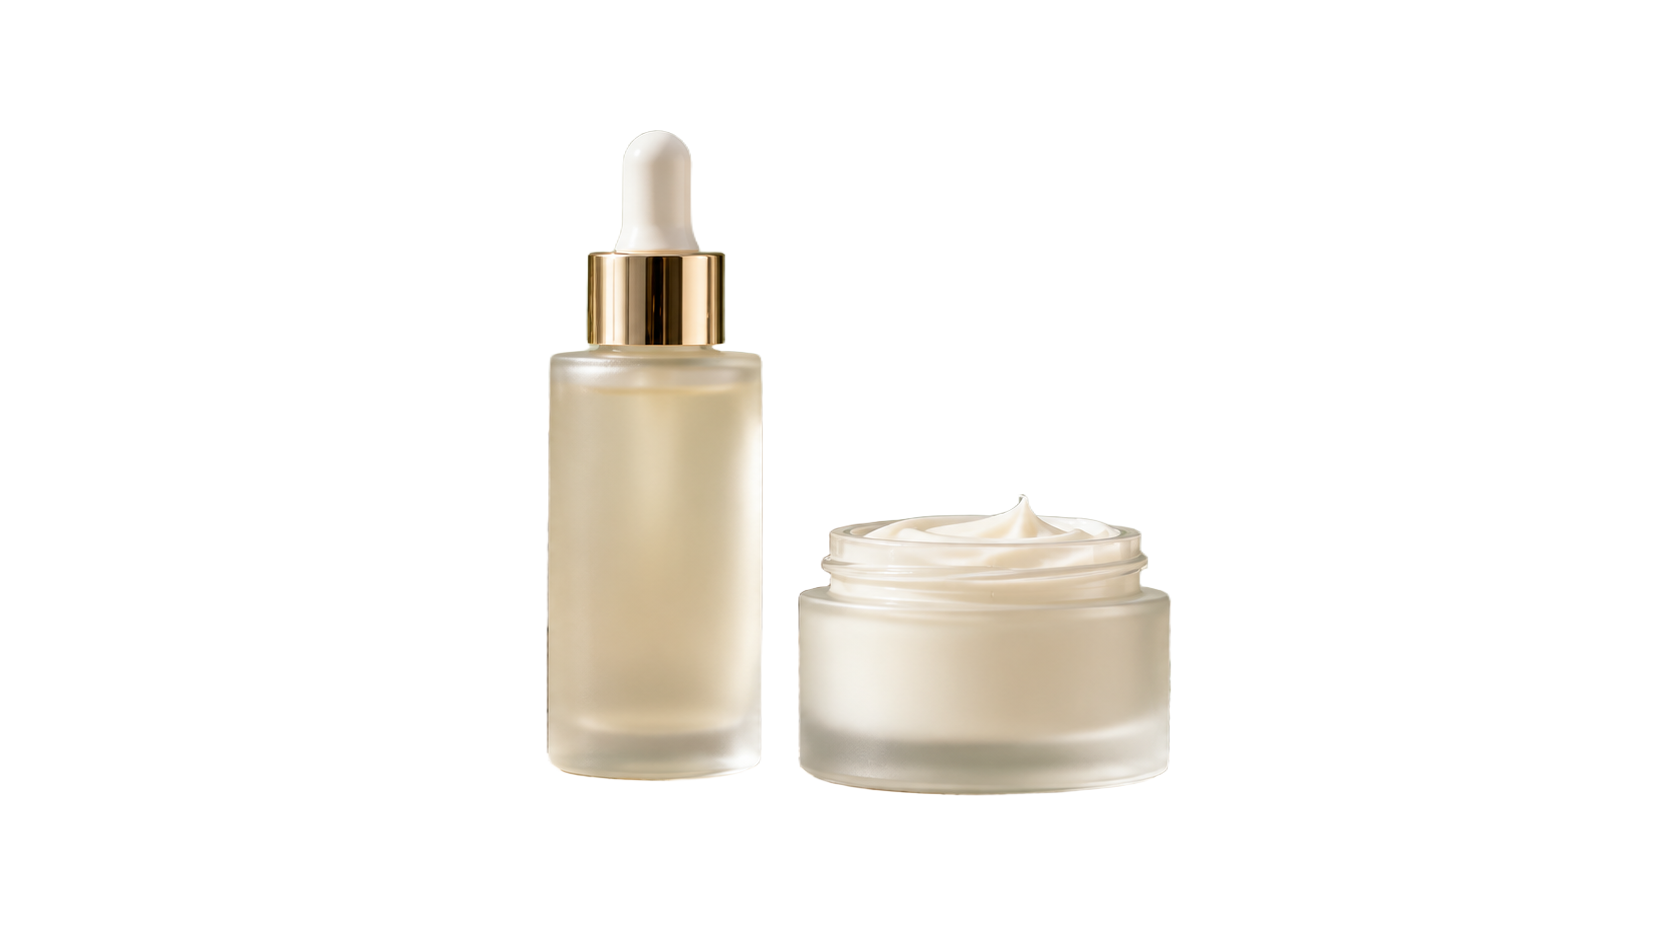
Actual Bria output from an AI-generated product image.
Introduction
Give the MiniMax H4 AI background remover a clear subject
Choose a photograph in which the subject is understandable from its outline and visible surfaces. A good source gives the MiniMax H4 AI background remover a clearer separation task before you review the result.
Keep the subject fully in frame
A cutout cannot supply the missing handle, shoe, or hair already cropped out of the source. Give the MiniMax H4 AI background remover a photograph with the whole intended subject visible. Leave enough surrounding space to inspect the outline instead of pressing every edge against the frame.
- Check the source for cropped corners and obstructed edges.
- Use the MiniMax H4 AI background remover on the clearest available original.
Look for visual separation
A pale sweater against a pale wall can have subtle boundaries, while strong shadows may resemble part of the subject. Inspect these areas before using the MiniMax H4 AI background remover. Choosing another photograph can be more effective than expecting a difficult edge to become obvious afterwards.
Decide what belongs in the cutout
For a mug beside a spoon, decide whether your intended asset includes both. The MiniMax H4 AI background remover has no text selection instruction for naming which object to keep. Start with a source that presents the intended subject clearly, and check whether nearby props remain in the result.
How to use
How to use the MiniMax H4 AI background remover
- Input
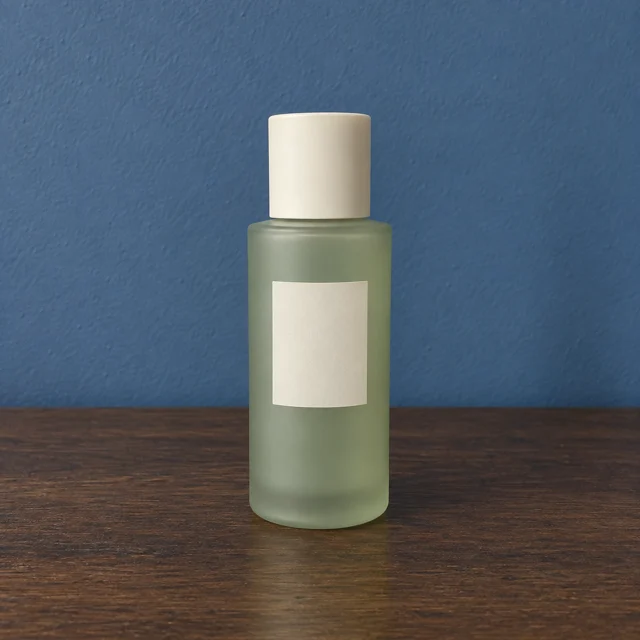 Reference image 1STEP 1
Upload one image
Add one JPEG, PNG, or WebP image up to 30MB to the MiniMax H4 AI background remover, keeping the entire subject visible.
- ModelBria RMBG 2.0originalOutputSTEP 2
Select background removal
Choose Bria RMBG 2.0 in the MiniMax H4 AI background remover; this single-image workflow requires no prompt and produces one transparent PNG.
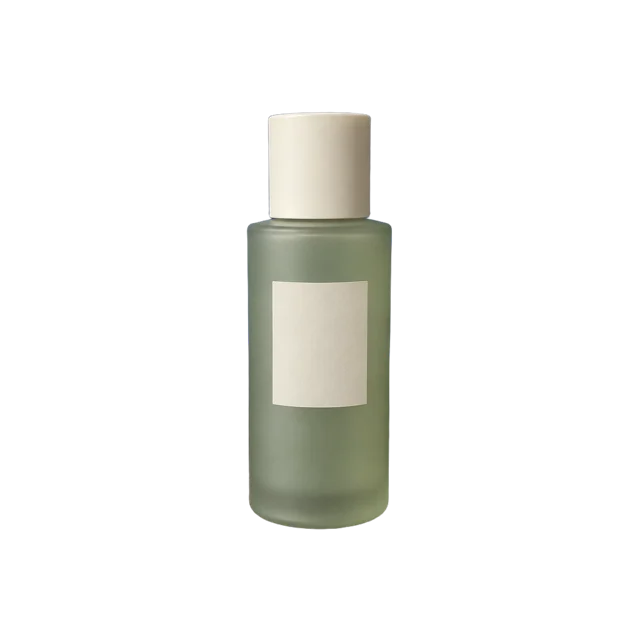 BeforeAfterSTEP 3
Remove the background
Check the displayed credits in the MiniMax H4 AI background remover, then run removal without adding scene instructions or requesting a replacement background.
- STEP 4
Inspect and download
Review MiniMax H4 AI background remover edges and transparency, then download the PNG at the input dimensions for your next composition.
Features
Use the MiniMax H4 AI background remover without scene instructions
This is a dedicated removal workflow, not a generative scene editor. The MiniMax H4 AI background remover needs an image file; there is no prompt-writing step for describing a replacement background.
Choose one supported file
Use one JPEG, PNG, or WebP up to 30MB. Convert unsupported formats and keep the original.
- Confirm the selected file and its size before submission.
- Do not submit a set of references to the MiniMax H4 AI background remover.
Review the displayed charge
Review the displayed credits. Bria removes the background without scene instructions, multiple variants, or a GPT resolution selection.
Keep removal separate from replacement
Asking for a blue wall or a studio floor belongs to another task. Finish the MiniMax H4 AI background remover step first. To generate new surroundings later, use GPT Image 2 reference editing with the cutout and a written scene instruction, then review that result separately.
Inspect the MiniMax H4 AI background remover outline carefully
Review more than the largest silhouette. The MiniMax H4 AI background remover result also needs convincing small gaps and delicate edges if it will look natural when placed over a contrasting background.
Check hair, fur, and fine fibers
Look for missing wisps, clumped hair, and remnants of the old background between fine strands. Inspect the MiniMax H4 AI background remover result at a useful enlarged size, then at its intended display size. An edge that seems minor close up can still create a visible halo.
- Use both a light and dark backing in your review workflow.
- Check MiniMax H4 AI background remover edges against the color you plan to use.
Check holes and spaces within the object
A chair can contain gaps between its legs; a mug has an opening inside its handle. The MiniMax H4 AI background remover should be reviewed in these interior spaces as well as around the outside. Look for retained background patches that make a hollow area appear filled in.
Treat translucent surfaces as a separate challenge
Glass, veils, and thin plastic can show background color through the material. An MiniMax H4 AI background remover result may retain some of that appearance even when the surrounding area becomes transparent. Examine the interior of translucent objects instead of judging their outer edge alone.
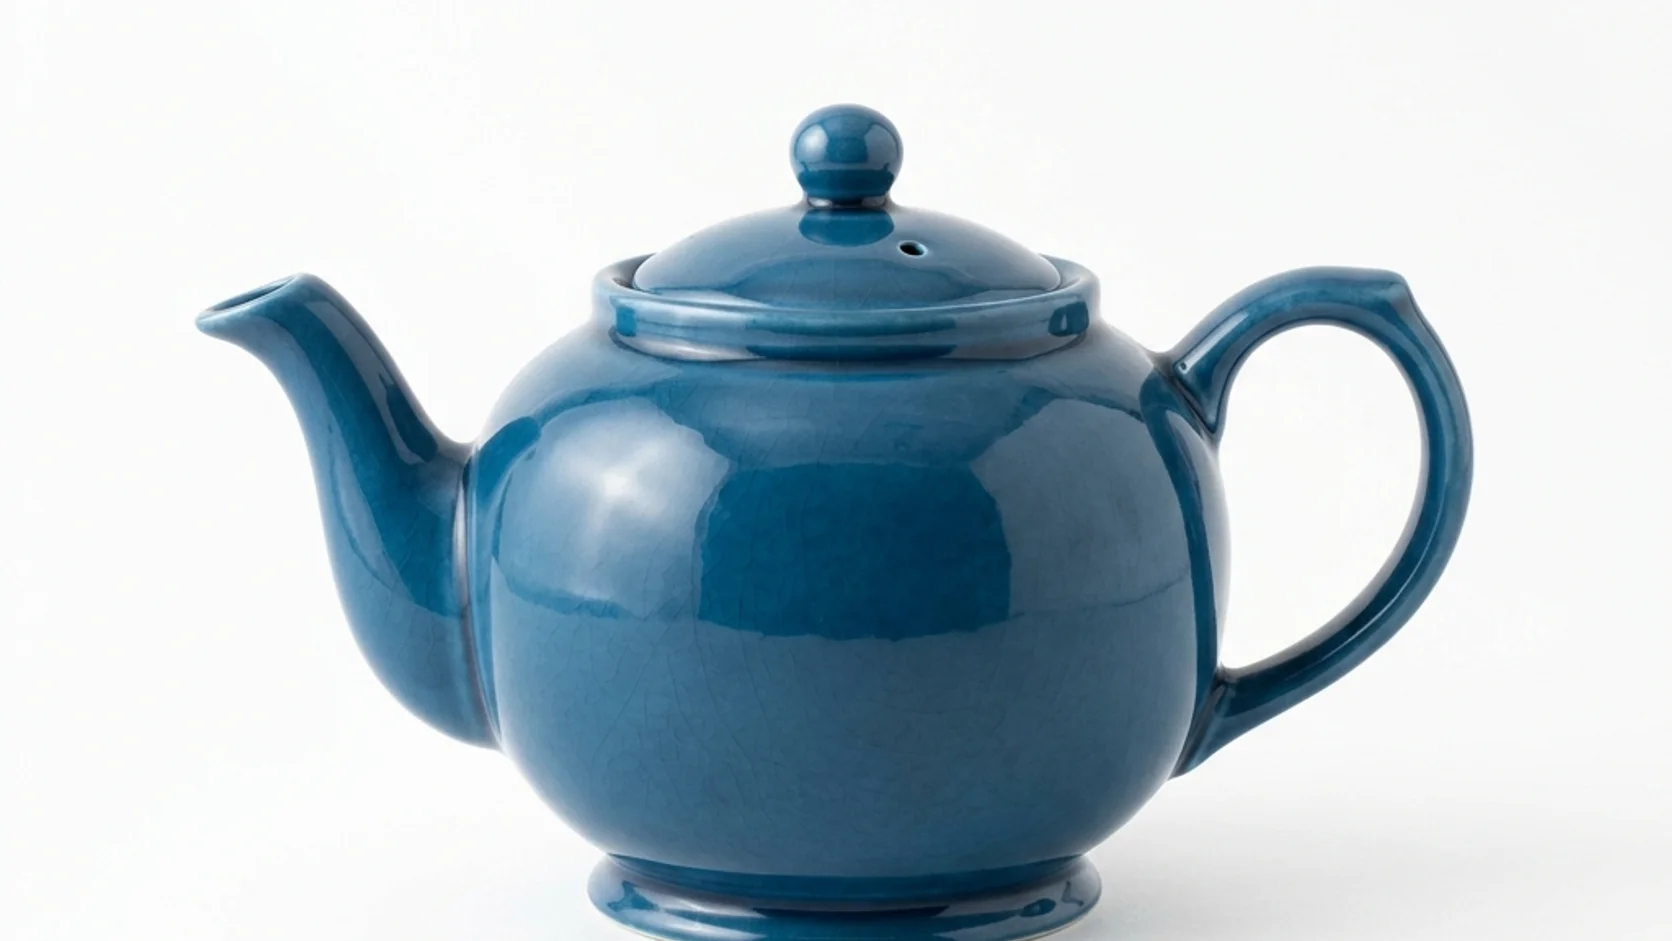
Understand your MiniMax H4 AI background remover PNG
The transparent PNG retains input width and height. Canvas dimensions stay separate from the visible subject’s size.
Distinguish canvas size from subject size
If the subject occupies a small area of a large photograph, it remains within that canvas after removal. The MiniMax H4 AI background remover is not an automatic tight-cropping or resizing tool. Decide whether to crop later according to the layout where the cutout will be used.
- Measure placement using the visible subject as well as the canvas.
- Keep the MiniMax H4 AI background remover output unchanged as a reusable source asset.
Keep a transparency-capable file
Preserve the returned PNG when moving the asset between design tools. A white-looking preview does not by itself tell you whether transparency is present. Place the MiniMax H4 AI background remover result over a colored background in your review workflow to see whether the subject is actually separated.
Review attached shadows and reflections
A source shadow may be removed, partially retained, or appear awkward on the next background. Inspect what the MiniMax H4 AI background remover leaves around the base. Do not assume that a cutout includes the right contact shadow for every future surface, camera angle, and light direction.
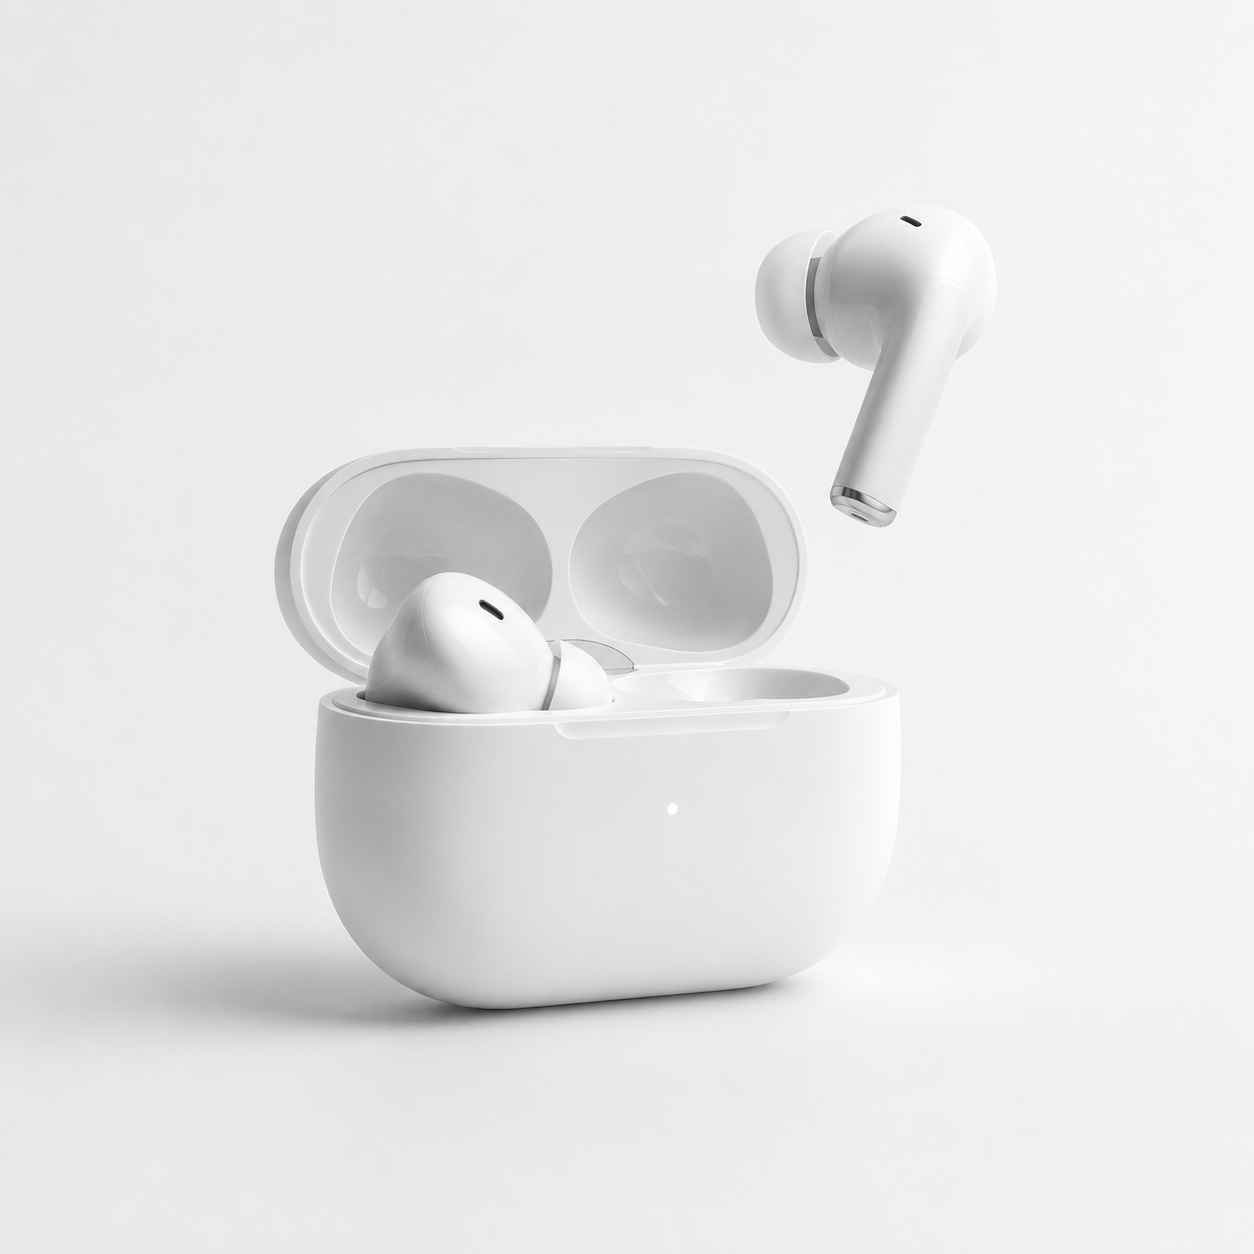
Use an MiniMax H4 AI background remover cutout in a new composition
Once the edge is acceptable, decide how the subject should sit in its destination. The MiniMax H4 AI background remover prepares the asset; placement, scale, and the next background are separate design decisions.
Choose a backing that reveals the subject
A dark jacket can disappear on a dark card, while pale ceramics may need a subtle tonal difference behind them. Test the MiniMax H4 AI background remover output against the actual destination color. Select a background that supports the subject without exposing leftover fringes as a contrasting outline.
Align subjects by visual size
For several catalog assets, equal canvas dimensions do not ensure equal-looking objects. Compare the visible height and margins of each MiniMax H4 AI background remover cutout. Adjust placement in your layout rather than assuming every source photograph framed its subject at the same scale.
Add new surroundings only in the right workflow
For an invented studio scene, switch to GPT Image 2 reference editing and use the cutout as the subject reference. The MiniMax H4 AI background remover itself does not create that scene. Review the generated subject again, because subsequent editing can change details beyond the new background.
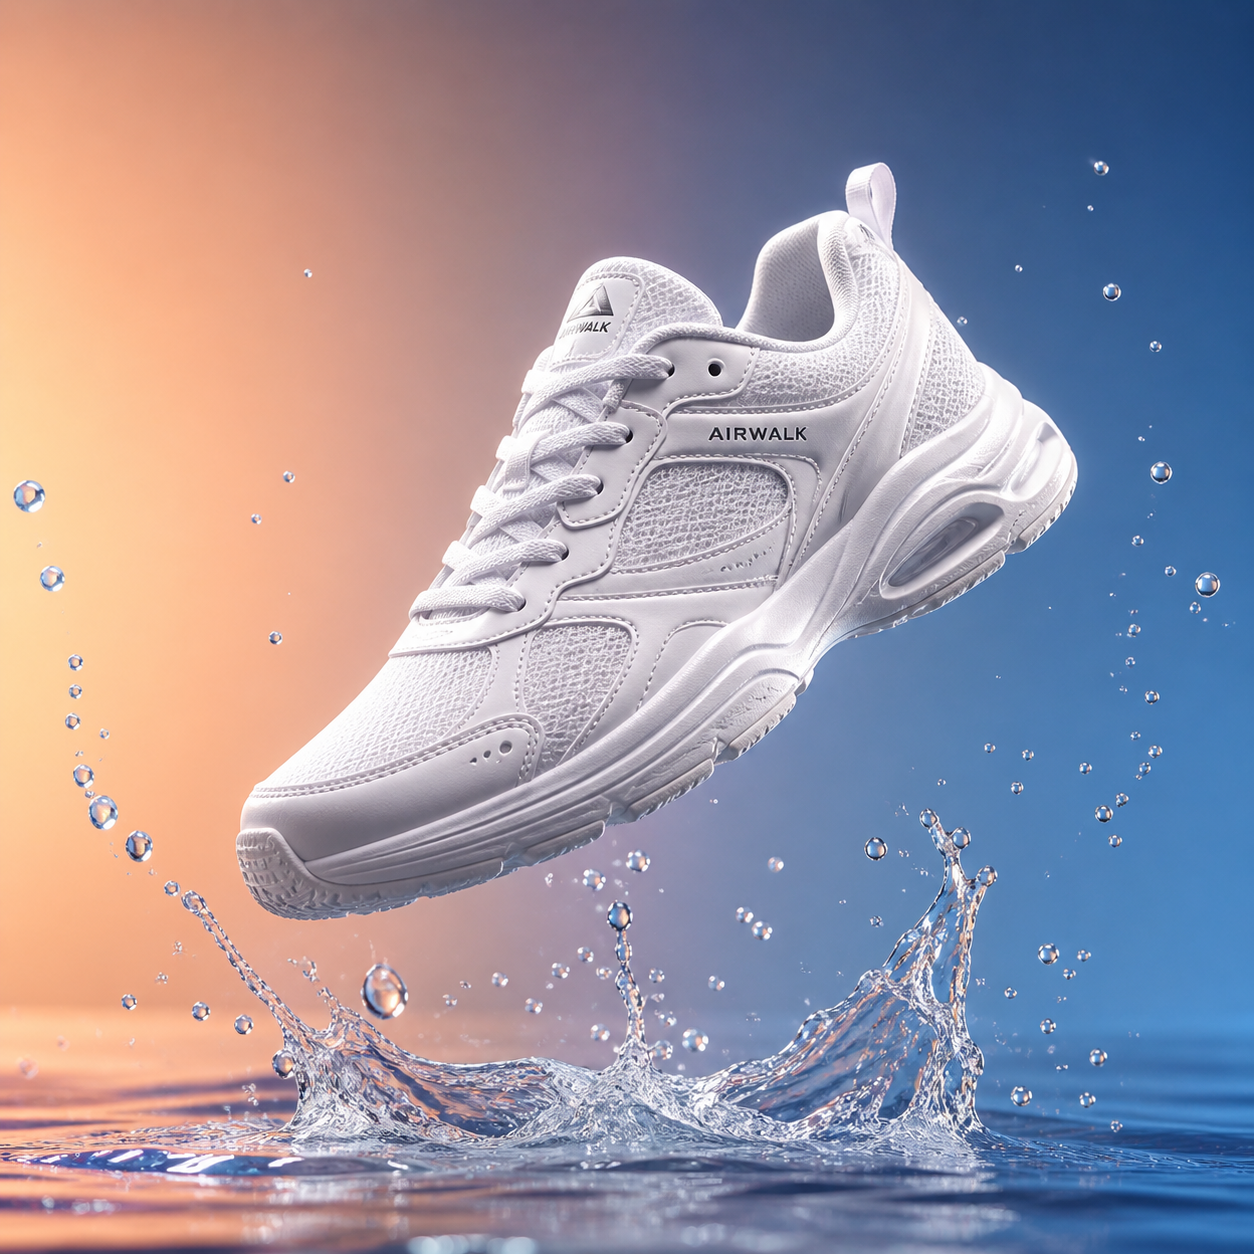
Resolve an imperfect MiniMax H4 AI background remover result
An incomplete edge is a reason to inspect the source, not to add a longer prompt. Keep MiniMax H4 AI background remover review practical: identify the failure and choose the next step that addresses it.
Compare missing areas with the original
Check whether a sleeve, leaf, strap, or handle section disappeared. Compare the MiniMax H4 AI background remover PNG with the original photograph to locate the loss. Do not approve an attractive outline when it quietly removes a meaningful part of the subject you intended to keep.
Try a clearer source when boundaries are ambiguous
A different photograph with a less similar background may solve a difficult separation. The MiniMax H4 AI background remover cannot use written instructions to restore an omitted piece. When changing the source is impossible, finish the edge in a suitable editing workflow rather than promising automatic correction.
Keep an untouched original for future decisions
Save the original and transparent result separately. A cutout suited to a small card may need closer inspection in a larger composition.

Example prompts
After removal: edit a studio setting with GPT Image 2
For GPT Image 2 reference editing after background removal: use my uploaded transparent cutout as the subject. Create a pale gray studio scene with a matte floor, gentle light from the upper left, and a subtle contact shadow beneath the subject. Aim to retain its recognizable shape, colors, and visible details. Keep the full subject in frame, with no extra objects, text, or logos. Review subject details after generation.
After removal: edit a warm display setting with GPT Image 2
For GPT Image 2 reference editing after background removal: place my uploaded cutout on a simple warm ivory display surface against a quiet muted blue background. Use a viewpoint compatible with the subject reference and soft light from the right. Create a believable contact shadow without covering the subject. Retain its visible construction and color as closely as possible. Do not add decorative props, labels, or lettering.
User reviews
MiniMax H4 creator workflow examples.
MiniMax H4 creator workflows

Create a short MiniMax H4 game scene using a character reference and a clear action. Compare the generated character, interface details, and motion with the source before using the result.

Explore an animation look in MiniMax H4 with a focused visual brief. Keep a style reference, test one motion at a time, and inspect consistency between shots.

Use product photographs to plan a MiniMax H4 listing video. Review the actual packaging, visible labels, and generated audio; assess campaign results using your own measurements.

Prepare a short MiniMax H4 vertical video with one subject and one visible change. Choose the ratio, preview the complete clip, and revise the prompt before publishing.

Choose an available editing model in MiniMax H4 and describe the intended change. Check preserved details, lighting, and frame continuity against the original recording.

Build a MiniMax H4 shot study before a shoot. Describe framing and camera movement, review each draft, and keep the result as a planning aid rather than a guarantee of the final shot.
MiniMax H4 Pricing and Credit Plans
Cancel anytime
Lite
50% off0.025 / credit
Billed $179 yearly· Save $179.8
Video Models



Image Models



- Includes MiniMax H4 and all premium models
- Up to 1 batch generation task
- Standard generation speed
- Standard generation success rate
- Standard customer support
- Commercial Use License
Standard
50% off0.017 / credit
Billed $299 yearly· Save $299.8
Video Models
Image Models
- Includes MiniMax H4 and all premium models
- Up to 4 batch generation tasks
- Priority processing speed
- High generation success rate
- Priority customer support
- Commercial Use License
Pro
50% off0.014 / credit
Billed $599 yearly· Save $599.8
Video Models
Image Models
- Includes MiniMax H4 and all premium models
- Up to 10 batch generation tasks
- Fastest generation speed
- High generation success rate
- Dedicated account manager
- Commercial Use License
Max
50% off0.012 / credit
Billed $1,199 yearly· Save $1,199.8
Video Models
Image Models
- Includes MiniMax H4 and all premium models
- Up to 10 batch generation tasks
- Fastest generation speed
- High generation success rate
- Dedicated account manager
- Commercial Use License
Pay safely and securely with























FAQ
Frequently asked questions
Do I need a prompt for the MiniMax H4 AI background remover?
No. Upload one supported image and run the dedicated Bria RMBG 2.0 workflow. The MiniMax H4 AI background remover does not use written scene instructions. The example prompts are suggestions for a later GPT Image 2 background edit, not inputs for removal.
Which files does the MiniMax H4 AI background remover accept?
Provide one JPEG, PNG, or WebP no larger than 30 MB. The MiniMax H4 AI background remover returns one transparent PNG. Choose the clearest available source and check that the whole intended subject appears in the photograph before uploading it.
Does the MiniMax H4 AI background remover change the image dimensions?
The output keeps the input width and height. The MiniMax H4 AI background remover does not automatically crop tightly around the subject or enlarge it. A small object in a large source remains within that canvas until you adjust its crop or placement elsewhere.
Can the MiniMax H4 AI background remover create a new background?
No. The MiniMax H4 AI background remover separates the subject onto transparency. To generate a room, floor, or colored studio scene, use GPT Image 2 reference editing afterwards. Supply the cutout and a scene instruction there, and review any changes to the subject.
Why does the MiniMax H4 AI background remover leave a visible fringe?
The source may contain fine strands, blur, reflected background color, or translucent material at the boundary. Inspect the MiniMax H4 AI background remover result over contrasting backings. Use a clearer source or an appropriate edge-editing workflow when the remaining fringe affects your intended layout.
CTA
Use the MiniMax H4 AI background remover for a clean starting asset
Choose one clear photograph, review the displayed credits, and create a transparent PNG. Inspect the MiniMax H4 AI background remover result before taking the cutout into a layout or a separate background-editing task.
Upload one image to remove its background